Dryzone System Hole Clearing Tool
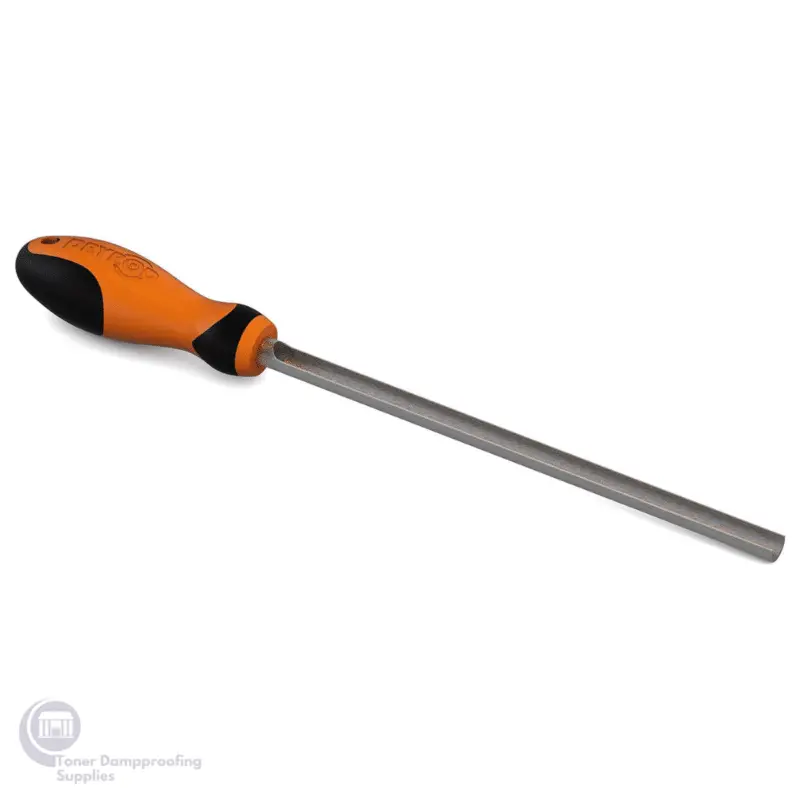
The Dryzone System Hole Clearing tool is a high quality metal tool for clearing dust and debris from drilled holes in masonry, ensuring maximum ease and effectiveness during the installation of Dryzone DPC products. The machined tool is perfectly sized to fit the 12mm diameter holes that are drilled for the installation of Dryzone DPC Cream or Dryrod DPC Rods. The tool also features a knurled handle to ensure superior grip.
Other Dryrod & Dryzone Accessories
A selection of Dryrod & Dryzone System tools is available from Toner Dampproofing Supplies to make the installation of rising damp even easier. Each tool in the selection has been specifically selected or developed to work with Dryzone System rising damp renovation materials.
Dryzone System Rod Cutting Tool – The Dryzone System Rod Cutting Tool has two blades. One small pointed blade, which you can use to scratch and cut open the plug on Dryzone mastic cartridges, and a rectangular guillotine blade, The Dryzone System Rod Cutting Tool is ideal for cutting Dryrod DPC Rods to size. The cutter has a protective cap for the pointed blade and the guillotine blade is safely stored within the body, which ensure the cutter is safe to transport.

Application
How to use Dryzone System Hole Clearing Tool
After drilling 12 mm holes using an SDS drill, the Dryzone System Hole Clearing Tool is inserted into the drilled hole. Twist the tool to collect any debris, and then remove with the open face upwards so that any debris is collected in the hollow of the tool.
Repeat as needed until hole is clear. Note that where brick/ mortar is slightly weak, hole clearing should be done carefully so as not to dislodge any weaker material.
For clearing shorter holes, the rod can be marked with tape positioned at the correct length.
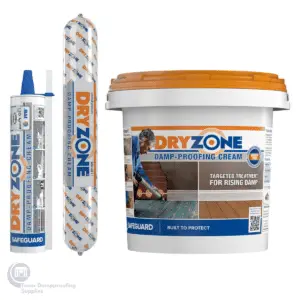
Dryzone Damp Proofing Cream Application
- First create a series of horizontal drill holes along the mortar course. Typically these holes are 12 mm in diameter and drilled at 120 mm intervals – refer to the Dryzone Application Instructions for details for particular wall thicknesses.
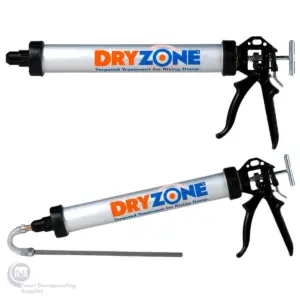
- Insert a Dryzone cartridge into the applicator gun, ensuring the pressure piston is fully extended.
- Cut into the end of the cartridge so that cream will be able to flow freely. Screw the nozzle cap back onto the gun.
- Fully insert the nozzle into the first drilled hole, and then inject Dryzone cream while withdrawing the nozzle at a steady rate. Stop injecting just before removing the nozzle from the wall. Repeat for remaining holes.
Application for Dryrod Damp-Proofing Rods:
- Mark your drill bit to the appropriate depth for the wall you wish to treat. A 12 mm Drill Bit is recommended for enhanced debris removal.
- Set your SDS drill to rotary hammer mode and attach the suitably marked drill bit.
- Identify the lowest horizontal mortar course that is accessible and continuous. Drill holes to the full recommended depth, at regular 120 mm intervals along the wall. As the drill bit approaches the final 40 mm of the intended hole depth, make sure to reduce the pressure you are putting on the drill. Excessive drilling pressure on the rotary hammer setting can result in damage to the far side of the wall.
- If debris obstructs the insertion of the damp-proofing rods, the Dryzone System Hole-Clearing Tool can be used to ensure the hole is completely clear.
- A standard Dryrod Damp-Proofing Rod is 180 mm in length, which is the exact length required to treat a standard 9″ wall. If the wall is thinner than 9″ then cut the rods down until they are 10 mm shorter than the length of the hole. If the wall is thicker than 9″, cut a second rod down until its length is 10 mm less than the excess left after inserting one whole rod.
- Fully insert the rods into each hole, ensuring that the rods are recessed approximately 5 mm from the brick face, taking care not to compress the rods against the back of the holes.
When installing internally, the performance of the rod will not be affected if the rods protrude slightly from the mortar, as a result of it being eroded at the surface. As long as the rod is inserted to the correct depth at the far side of the wall, full treatment will be accomplished and any protruding rods will be covered during redecoration.
Once the damp-proofing rods are installed, they diffuse the active ingredient deep into the wall before it cures to form a water-repellent barrier. This prevents the damp from rising up the wall.
|
4½″ (115 mm) |
9″ (230 mm) |
13½″ (345 mm) |
18″ (460 mm) |
Depth of Drill Hole |
95 mm |
210 mm |
325 mm |
440 mm |
Length of Dryrod |
90 mm |
180 mm |
270 mm |
360 mm |
Datasheets & Downloads
[elfsight_pdf_embed id=”2″]
[elfsight_pdf_embed id=”1″]
Reviews
There are no reviews yet.